Tekton Setup using Microk8s in LXD container
We are going to use Microk8s instead of Kubernetes directly, since it is easy to setup in LXD and this is light weight. microk8s is fully compatible with the kubernetes implementation so, any configuration written for kubernetes can be directly used on microk8s. Containerd is the container runtime used by MicroK8s to manage images and execute containers.
Tekton is a CI/CD framework which we will use. Note that we are going to setup single node Kubernetes setup but the nodes can be added as on when multiple nodes are created.
This section contains following tasks to be performed in order to install the tekton properly in LXD.
- LXD VM installation
- Microk8s Installation
- Tekton Installation
- Port configuration for external access
- Ingress based service expose for external access
LXD VM Installation
From release 3.10 (native support from 4.0), LXD supports running VM. We will be using this feature for installing and setting up CI/CD.
-
Install ubuntu VM and do basic configuration.
lxc init ubuntu:20.04 cicd-vm --vm ( cat << EOF #cloud-config apt_mirror: http://us.archive.ubuntu.com/ubuntu/ ssh_pwauth: yes users: - name: ubuntu passwd: "\$6\$s.wXDkoGmU5md\$d.vxMQSvtcs1I7wUG4SLgUhmarY7BR.5lusJq1D9U9EnHK2LJx18x90ipsg0g3Jcomfp0EoGAZYfgvT22qGFl/" lock_passwd: false groups: lxd shell: /bin/bash sudo: ALL=(ALL) NOPASSWD:ALL EOF ) | lxc config set cicd-vm user.user-data - lxc config device add cicd-vm config disk source=cloud-init:config -
Set the memory and cpu limits as per requirement.
lxc config set cicd-vm limits.cpu 24 lxc config set cicd-vm limits.memory 64GB -
Start the VM
lxc start cicd-vm
Microk8s Installation
All the commands are run in the LXD VM shell. Open the VM shell by
lxc console cicd-vmorssh <user>@<vm-ip>
-
Install and configure latest microk8s from snap store.
sudo snap install microk8s --classic sudo usermod -a -G microk8s $USER sudo chown -f -R $USER ~/.kube - Relogin.
-
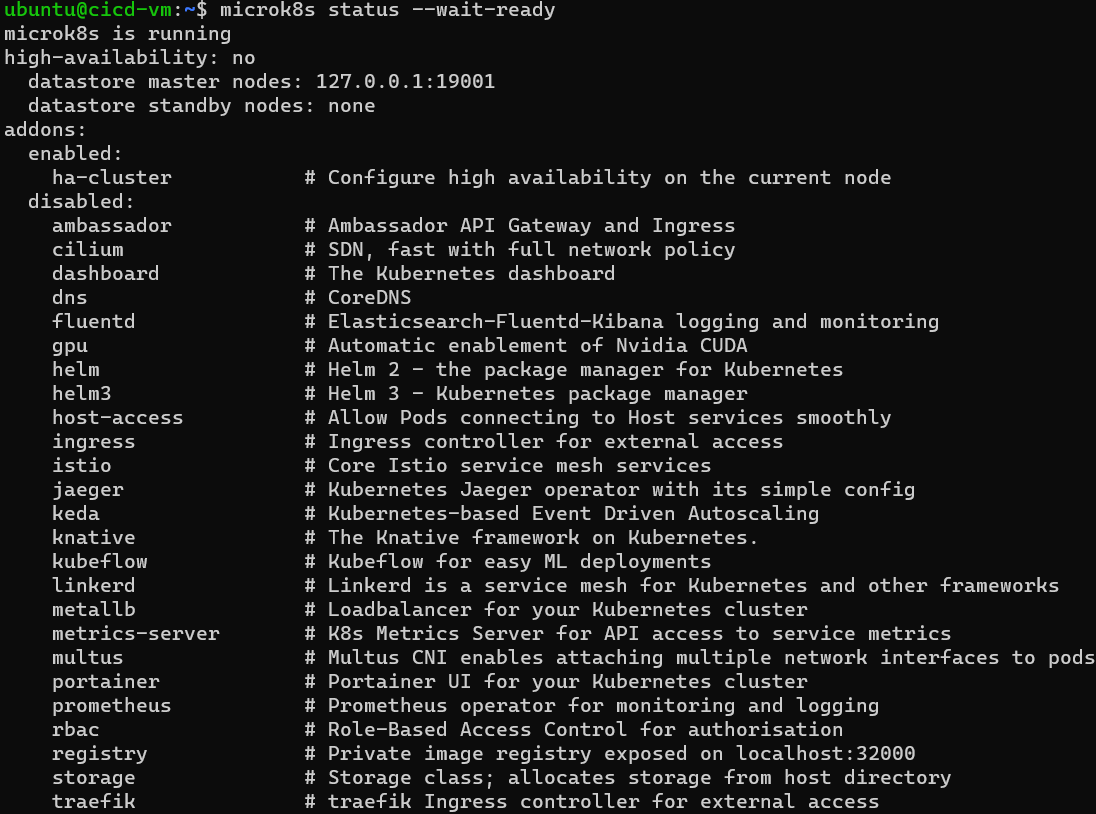
Microk8s will take sometime to setup. Wait for it to complete its setup.
microk8s status --wait-ready
- Now kubectl can be accessed via
microk8s kubectl <sub-commands> -
Create a alias for the kubectl command.
echo "alias kubectl='microk8s kubectl'" >> ~/.bash_aliases -
Now Microk8s is installed and ready to run the required pods. By default it will create a single node with name as hostname.
kubectl get nodes
Tekton Installation
-
Install Tekton core component and check pods are in running state.
 kubectl apply --filename https://storage.googleapis.com/tekton-releases/pipeline/latest/release.yaml
 kubectl get pods --namespace tekton-pipelines
-
Setup the Tekton CLI
 sudo apt update;sudo apt install -y gnupg
 sudo apt-key adv --keyserver keyserver.ubuntu.com --recv-keys 3EFE0E0A2F2F60AA
 echo "deb http://ppa.launchpad.net/tektoncd/cli/ubuntu eoan main"|sudo tee /etc/apt/sources.list.d/tektoncd-ubuntu-cli.list
 sudo apt update && sudo apt install -y tektoncd-cli
 tkn version
-
Install Tekton Dashboard
kubectl apply --filename https://storage.googleapis.com/tekton-releases/dashboard/latest/tekton-dashboard-release.yaml -
Wait for the dashboard to be up in Running state.
kubectl get pods --namespace tekton-pipelines
Port configuration for external access
-
Now we have to make port forwarding from outside to LXD. LXD VM supports this but only nat based forwarding is supported. To make it work, get the interface IP which is connected to outside network and note it down. Then execute following command.
This has to be executed in host terminal, not in LXD VM terminal.
Replace
<interface-ipv4-ip>and<interface-ipv6-ip>with the IP that is noted down.IPV4=`lxc ls | grep cicd-vm | awk -F\| '{print $4}' | xargs | awk '{print $1}' | xargs` IPV6=`lxc ls | grep cicd-vm | awk -F\| '{print $5}' | xargs | awk '{print $1}' | xargs` IFACE=`lxc ls | grep cicd-vm | awk -F\| '{print $4}' | xargs | awk '{print $2}' | xargs | sed 's/[()]//g'` lxc stop cicd-vm lxc network set lxdbr0 ipv6.dhcp.stateful true lxc config device override cicd-vm eth0 ipv4.address=${IPV4} ipv6.address=${IPV6} lxc config device add cicd-vm proxyv4 proxy nat=true listen=tcp:<interface-ipv4-ip>:9097 connect=tcp:0.0.0.0:9097 lxc config device add cicd-vm proxyv4-alternate proxy nat=true listen=tcp:<interface-ipv4-ip>:31475 connect=tcp:0.0.0.0:31475 lxc config device add cicd-vm proxyv6 proxy nat=true listen=tcp:[<interface-ipv6-ip>]:9097 connect=tcp:[::]:9097 lxc config device add cicd-vm proxyv6-alternate proxy nat=true listen=tcp:[<interface-ipv6-ip>]:31475 connect=tcp:[::]:31475 lxc start cicd-vm -
By default Kubernetes doesn’t expose the pods. Inorder to make Tekton Dashboard accessible from LXD, we have to enable port forwarding.
kubectl --namespace tekton-pipelines port-forward --address 0.0.0.0 svc/tekton-dashboard 9097:9097 -
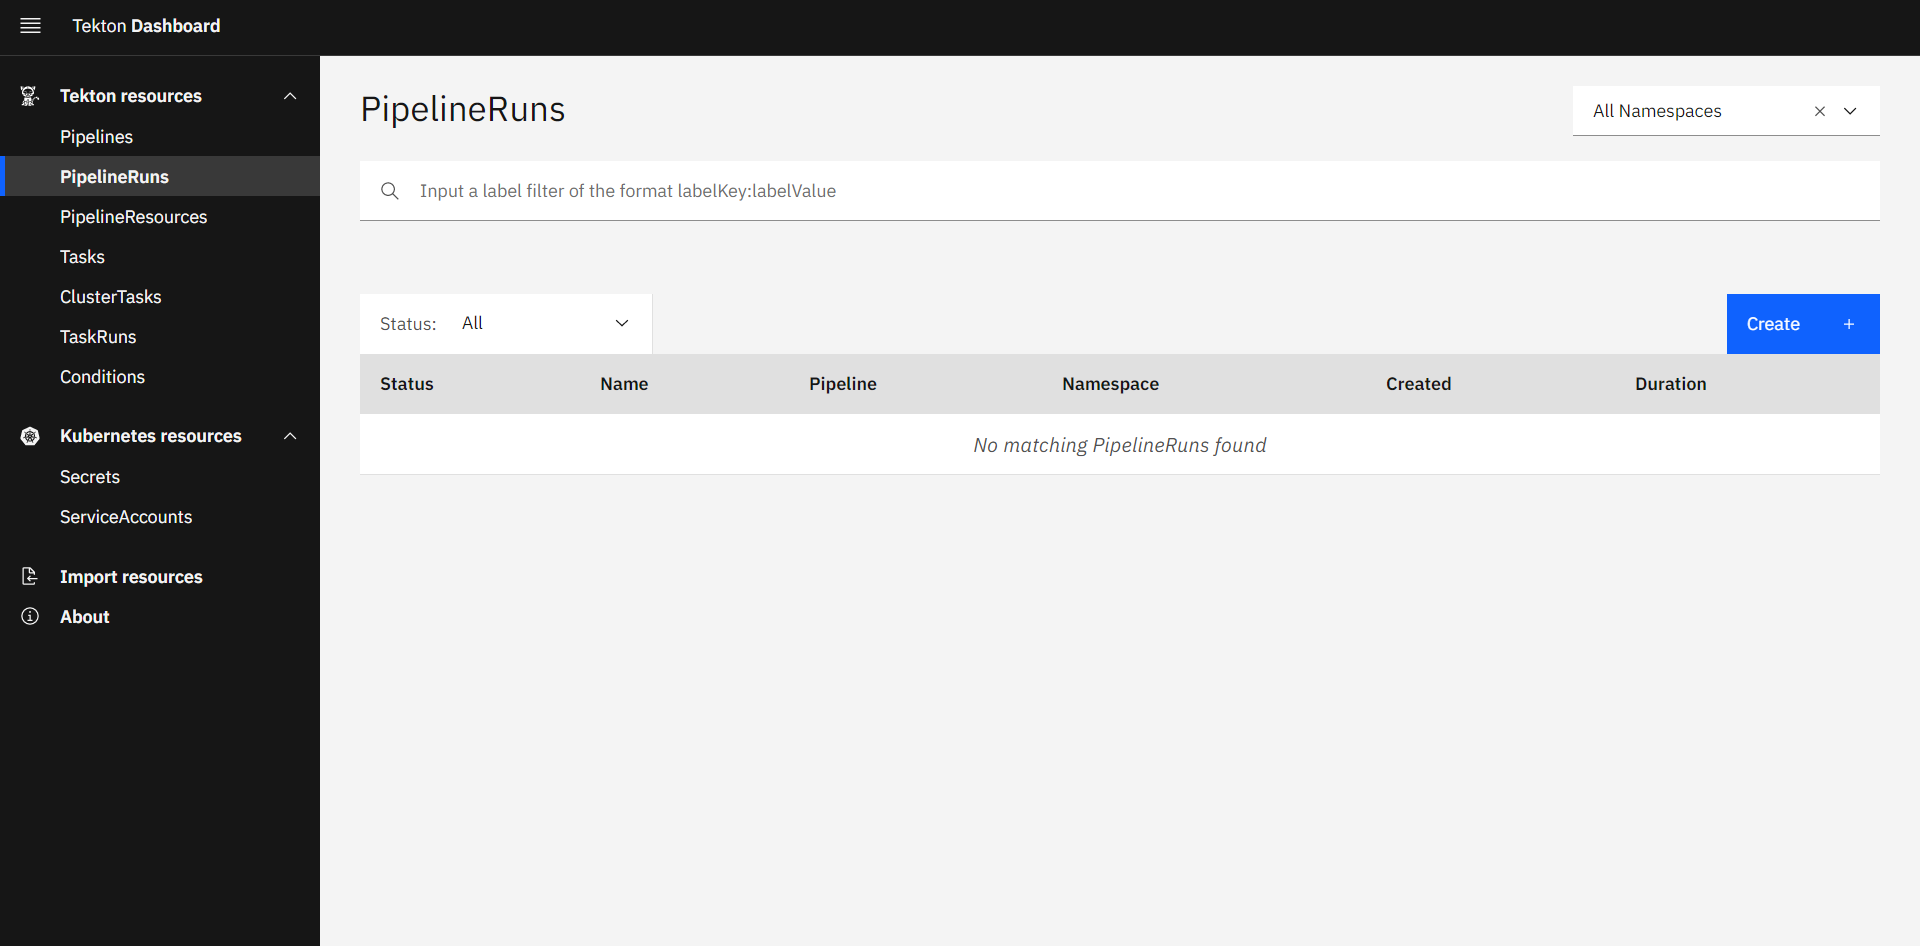
From any other machine (in the same network), Access the Tekton Dashboard using IP:
http://<host-server-ip>:9097/. If below image page is seen then Tekton is configured properly.
Ingress based service expose for external access
Ingress is a API object which will act as a load-balancer or a proxy server that connects a service in a node to external. In order to use ingress object in kubernetes we need to install Ingress Controller. Lets set this up in microk8s.
Microk8s provides an Ingress Add-on which installs Nginx based Ingress Controller for microk8s nodes. This can be installed by executing following command.
microk8s enable ingress
But Ingress does not expose arbitrary ports or protocols. But tekton runs on 9097 or 31475 port. This can be done through NodePort.
-
Edit the service file of the tekton-dashboard
kubectl edit svc tekton-dashboard -n tekton-pipelines - Find the
spec.typefield and change it fromclusterIPtoNodePort. Save and exit. - Check the available port in the node.
kubectl get svc -A -
Tekton can be accessed from
http://<host-server-ip>:31475/